Installing LaBB-CAT
LaBB-CAT is a web-browser based application, and is primarily designed to run on a central web server accessible over the internet, so that multiple collaborators can easily work on the same corpus data from different locations.
However, it is possible to have a ‘private’ installation of LaBB-CAT which runs directly on your personal computer. These instructions explain how to achieve that.
 Windows
On Windows, before you can install LaBB-CAT, you first must have Java installed.
1. Check Java
Use the following steps to check whether you already have Java installed.
- Press the
 Start menu button.
 - Type
Control Panel - Select the Control Panel option that appears.

- Type
Java
If a Java icon appears as shown in Figure 1, then you already have Java, and can skip section 2.

If there’s no Java icon in the Control Panel, follow the steps in the next section to install it.
2. Install Java
- Open the Java website in your browser:
https://www.java.com/ - Press the Download Java button.
- Press the Download Java button on the next page and save the resulting installer file.
- Click the installer to run it.
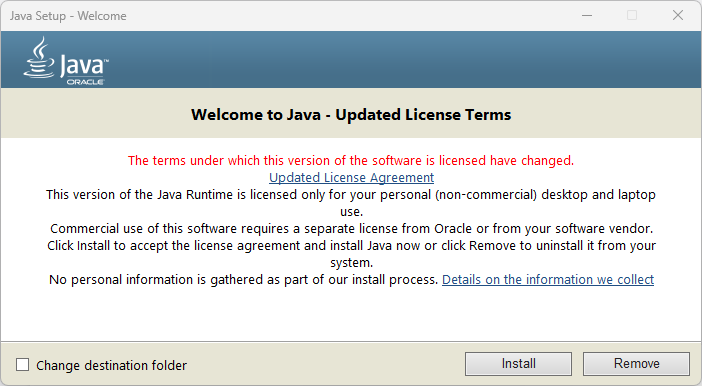
- Press Install.
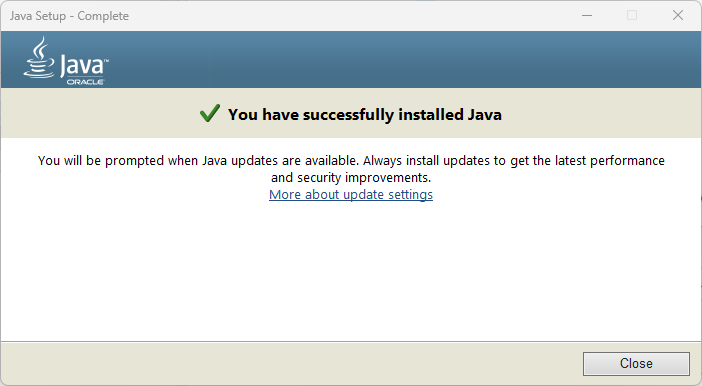
- Press Close.
3. Install LaBB-CAT
Once Java is installed, you can install LaBB-CAT:
- Open the following page in your web browser:
https://sourceforge.net/projects/labbcat/files/install/
This page has all versions of the LaBB-CAT installer, both for personal computer installations
and also for web-server installations. The the files are listed most recent first. - Download the first file named install-labbcat_yyyymmdd.jar (where yyyymmdd are numbers).
- Double-click on the file you just downloaded to open it.
You should see the LaBB-CAT installer program (Figure 4).

- Press Start.
You should see a progress bar while components are installed and files are copied.
Once the installation is finished, the progress bar will be all blue, and there will be a button labelled Finished (Figure 15).

- Press Finished.
The LaBB-CAT Server application will appear, as shown in Figure 6.

Then your default web browser will open on your LaBB-CAT home page, as shown in Figure 7.
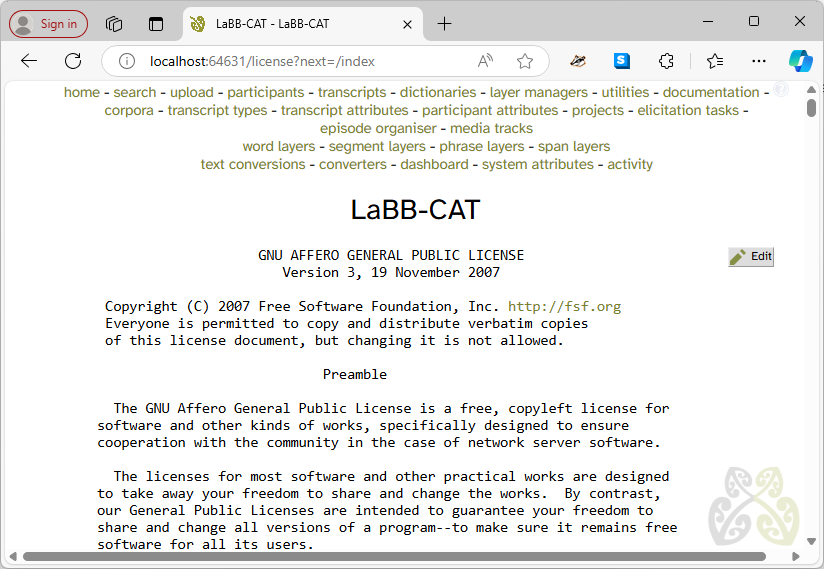
- If you are shown the LaBB-CAT Licence page, scroll to the bottom and press I Agree.
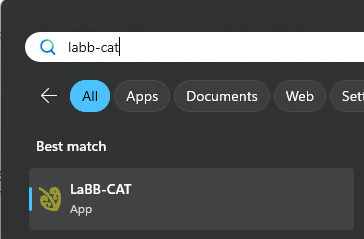
As seen in Figure 8, in your Start Menu, you will see that there is a LaBB-CAT app that can be used to start and access LaBB-CAT from now on.
This starts the LaBB-CAT Server app (Figure 6), which must be running when you’re using LaBB-CAT. It can be closed once you’ve finished working with LaBB-CAT.
 Mac
Mac
LaBB-CAT can only be installed on newer M-series Macs.
These instructions will not work for older Intel-based Macs. Sorry!
On OS X, there are two prerequisites that must be installed before you can install LaBB-CAT:
- Homebrew
- Java
You may already have one or other of these installed; if so, you can skip the corresponding section below.
1. Install Homebrew
Homebrew is a ‘package manager’ for Mac computers, which allows you to install other programes, including Java.
- Open the following page in your web browser:
https://github.com/Homebrew/brew/releases/latest - Scroll down to the Assets section.
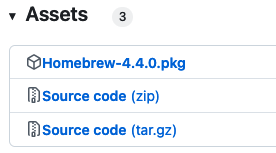
- Click the file called Homebrew-n.n.n.pkg (where n.n.n is the version number) to download the file.
- Once the file has been downloaded, double-click on it to run the installer.
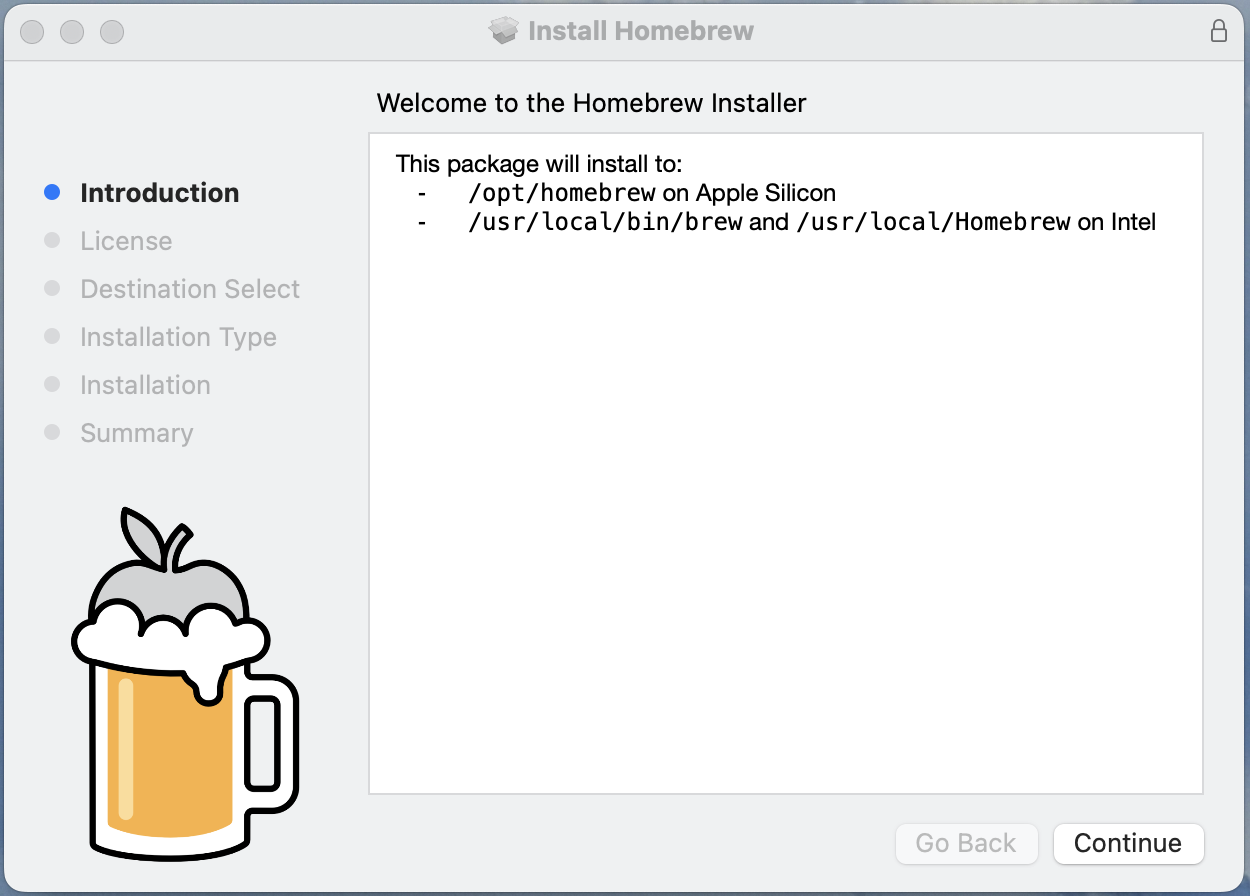
- Click Continue, Continue, Agree and Install to complete the installation.
2. Install Java
- Open Launchpad and type
Terminal. - Double click Terminal to open a command shell.
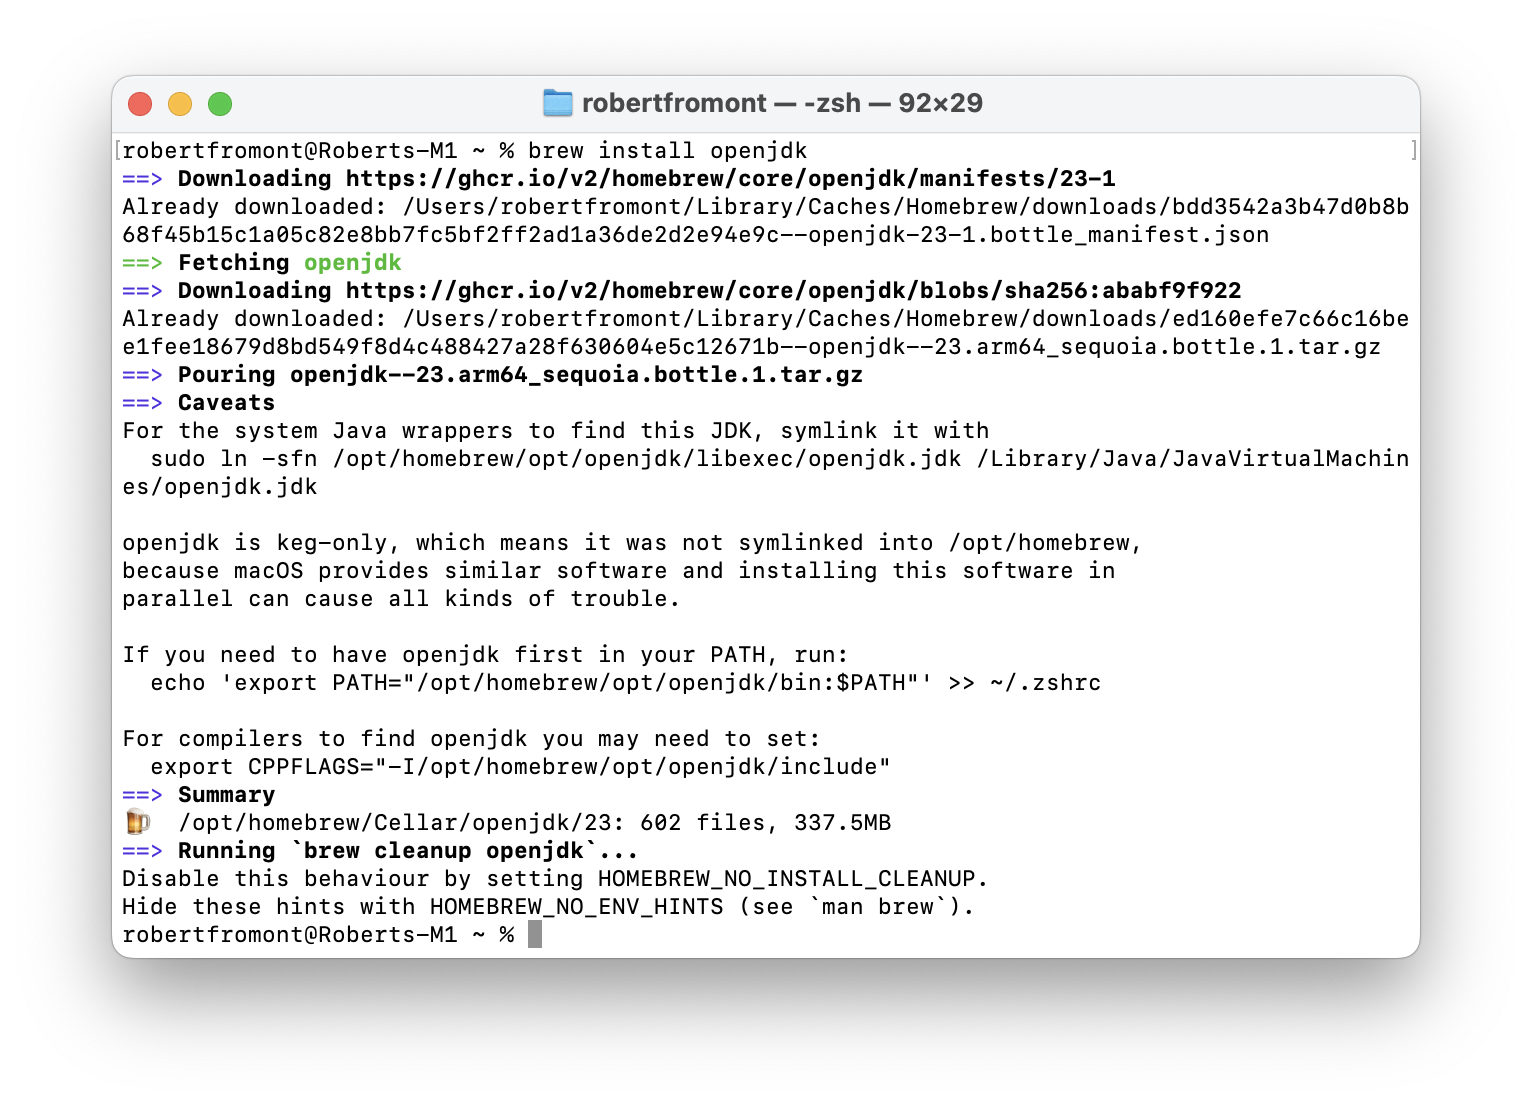
- Type in the following command:
brew install openjdk - Press the returnreturn key on your keyboard to enter the command.
Some text will appear in the Terminal window while Homebrew downloads everything it needs to install Java
Once it’s finished, you’ll see the%shell prompt again.
3. Install LaBB-CAT
Once Homebew and Java are installed, you can install LaBB-CAT:
- Open the following page in your web browser:
https://sourceforge.net/projects/labbcat/files/install/
This page has all versions of the LaBB-CAT installer, both for personal computer installations
and also for web-server installations. The the files are listed most recent first. - Download the first file named install-labbcat_yyyymmdd.jar (where yyyymmdd are numbers).
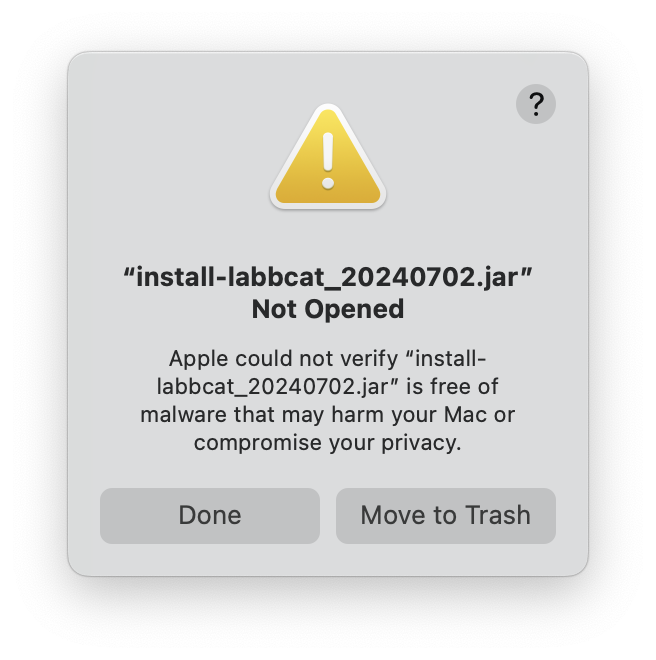
- Double-click on the file you just downloaded to open it.
Most likely you will see a message that the files was “Not Opened” as show in Figure 10.
- Go to the Apple menu and select System Settings.
- Select the section labelled Privacy and Security.
- Scroll to the bottom and under the Security heading you will see a message saying that install-labbcat_yyyymmdd.jar “was blocked to protect your Mac.” as shown in Figure 11
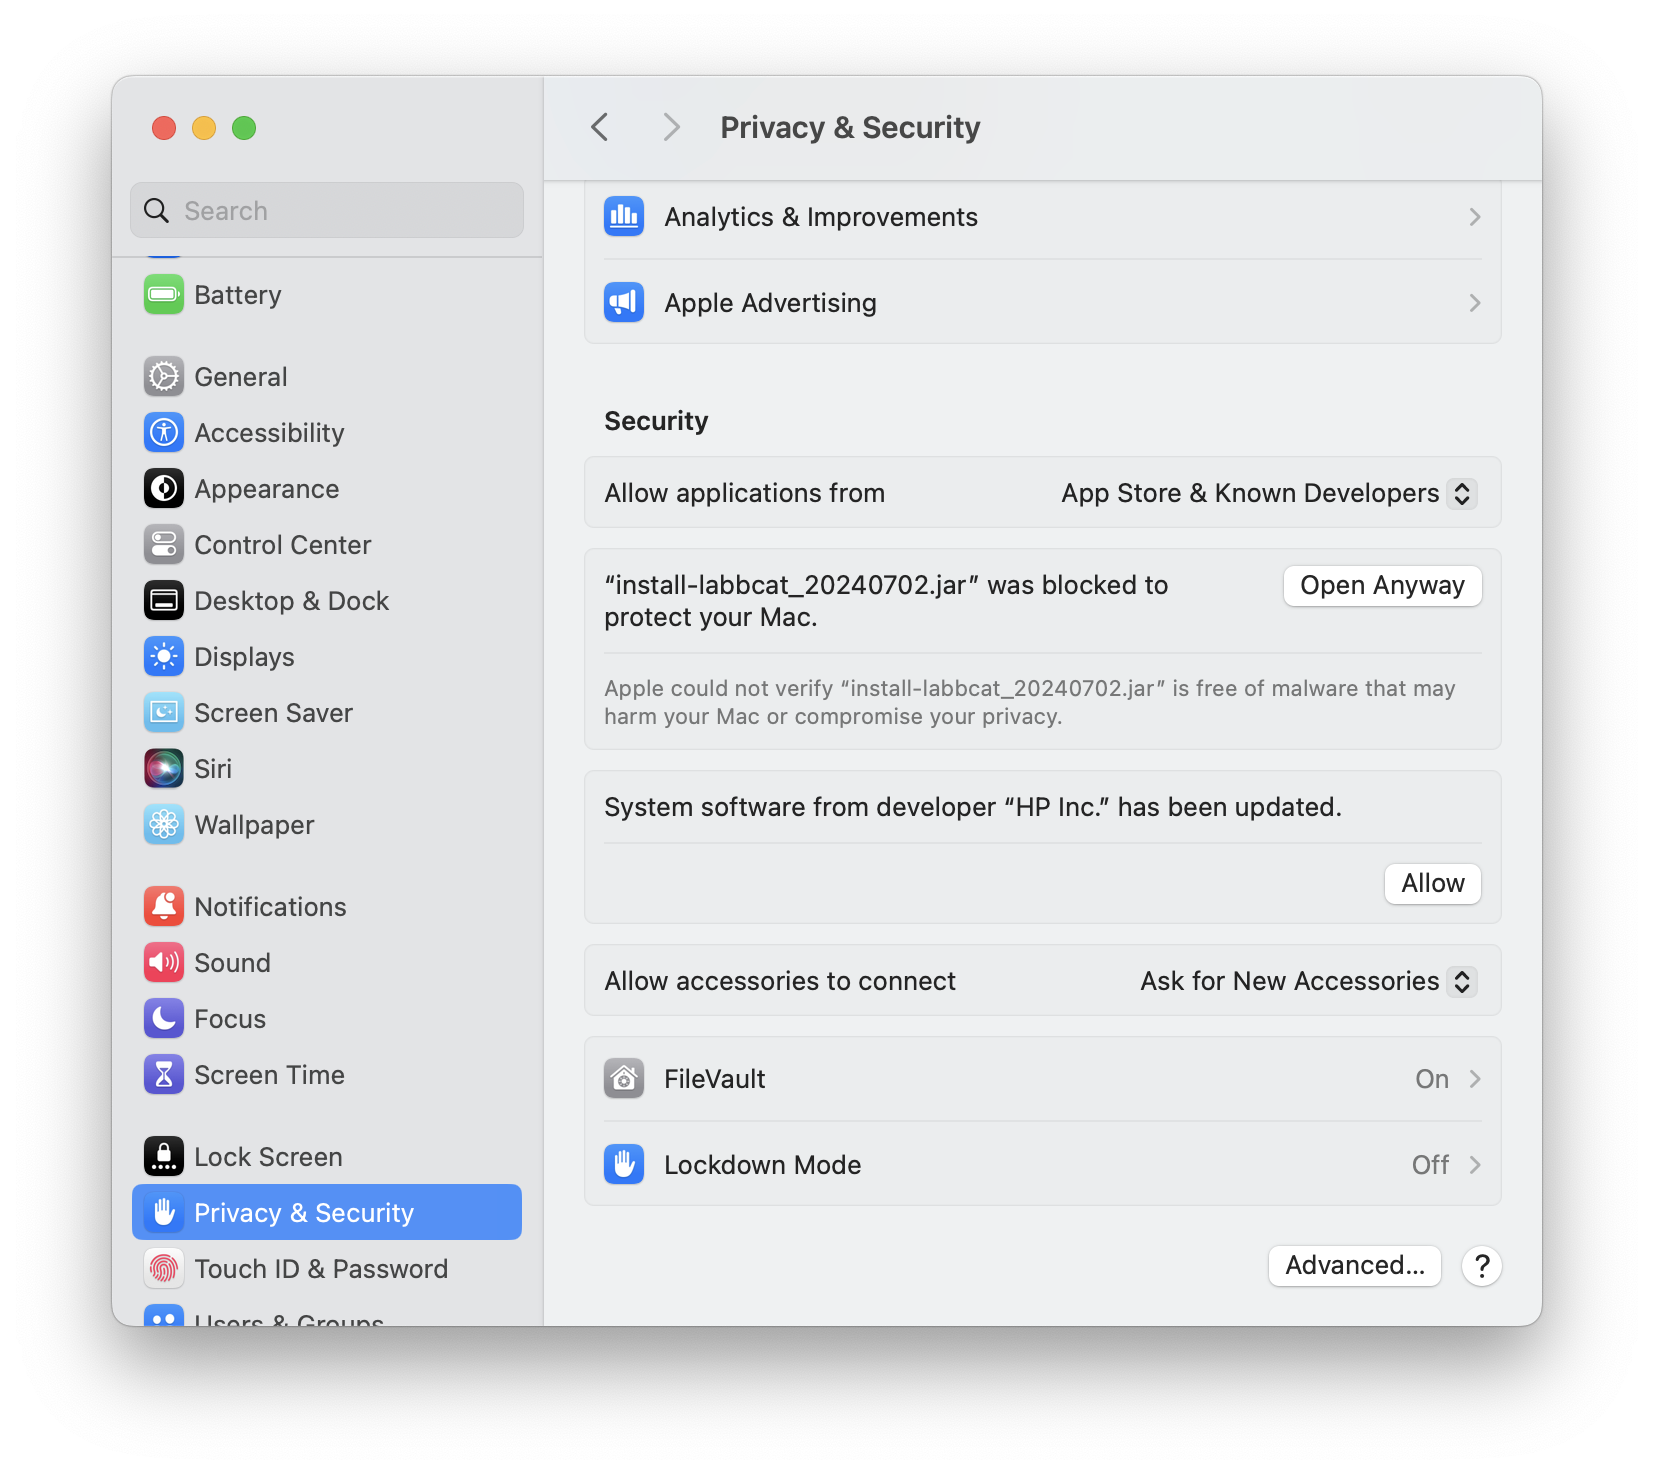
- Press Open Anyway.
You will see another warning message as shown in Figure 12
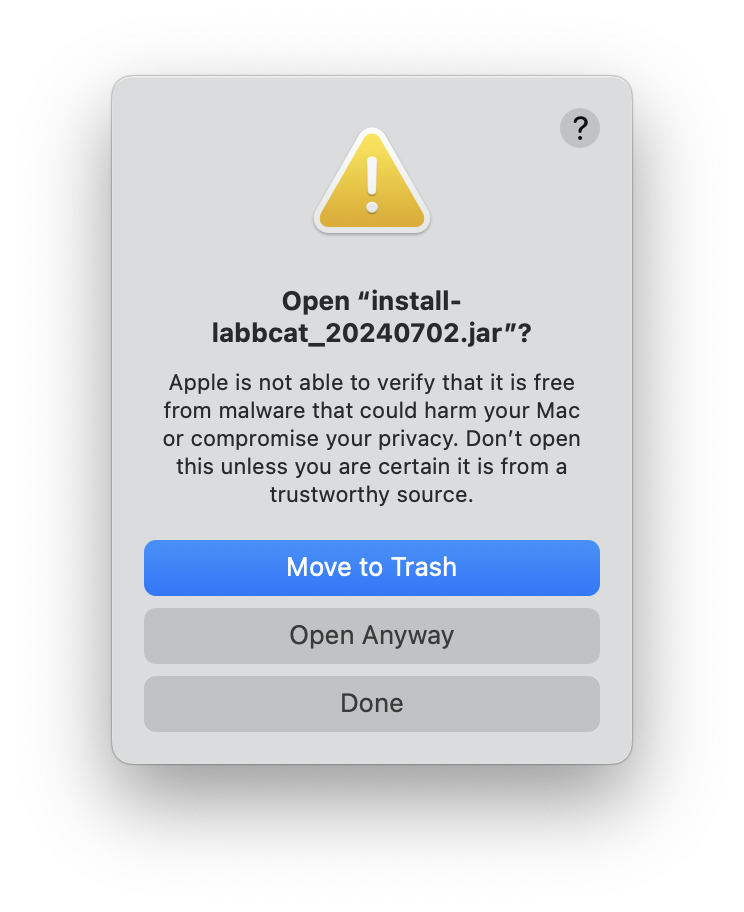
- Press Open Anyway.
You may see a request for Java to access your Downloads folder like in Figure 13.
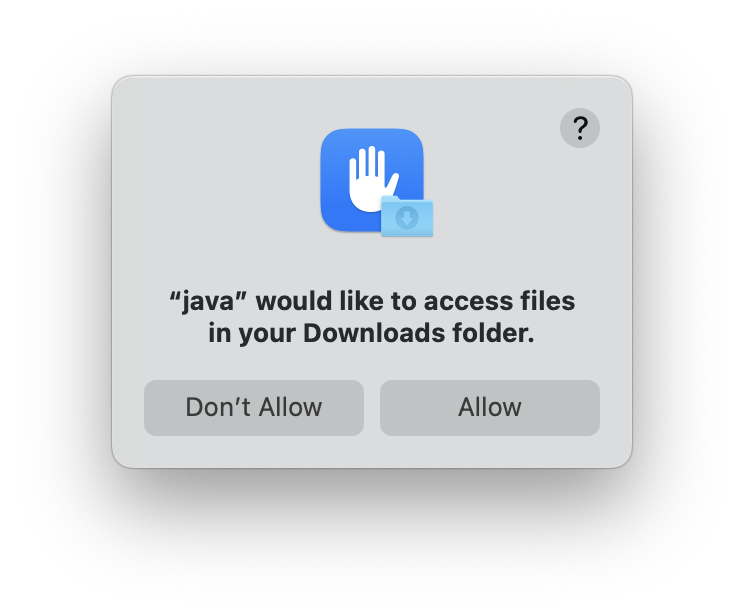
- If so, press Allow.
You should see the LaBB-CAT installer program (Figure 14).
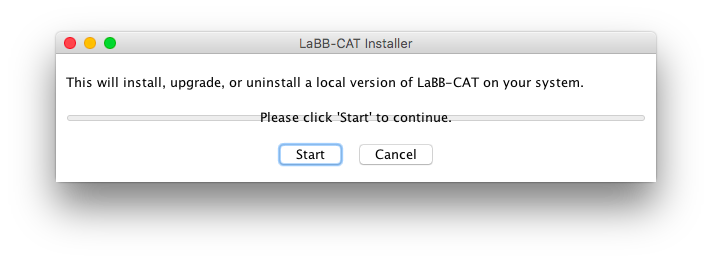
- Press Start.
You should see a progress bar while components are installed and files are copied.
Once the installation is finished, the progress bar will be all blue, and there will be a button labelled Finished (Figure 15).
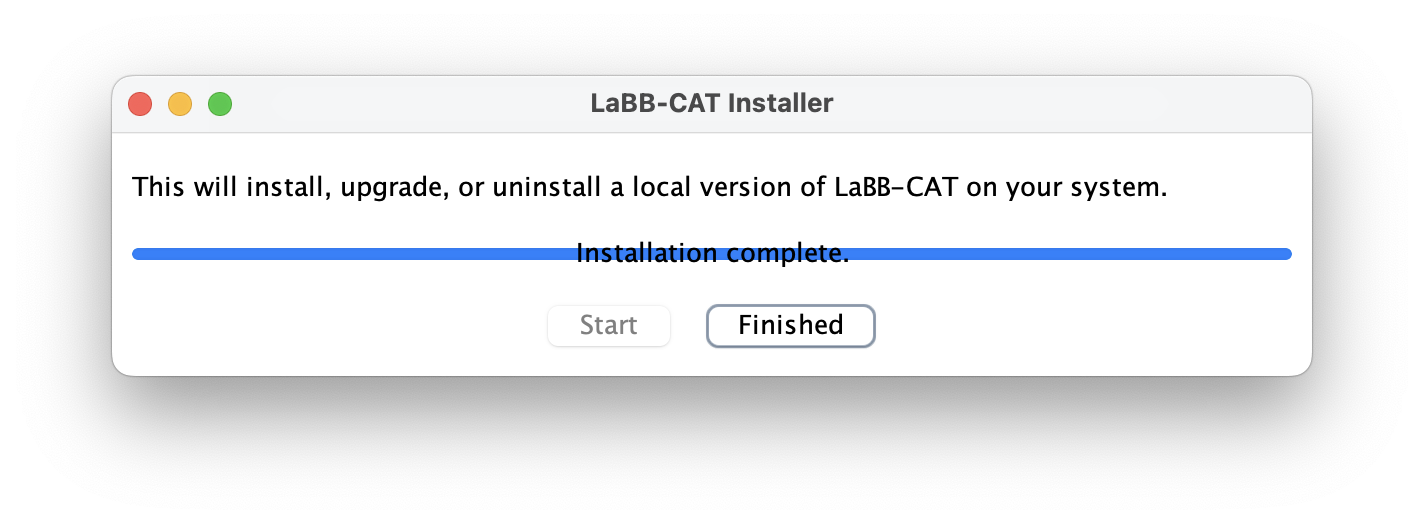
- Press Finished.
Your default web browser will open on your LaBB-CAT home page, as show in Figure 16.
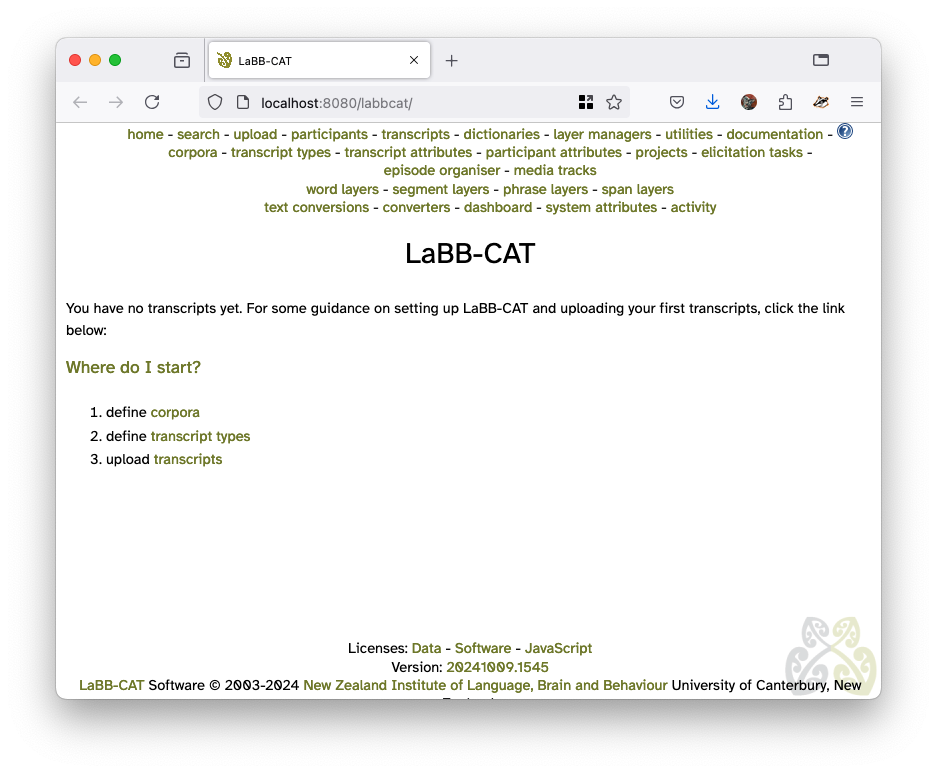
- If you a shown the LaBB-CAT Licence page, scroll to the bottom and press I Agree.
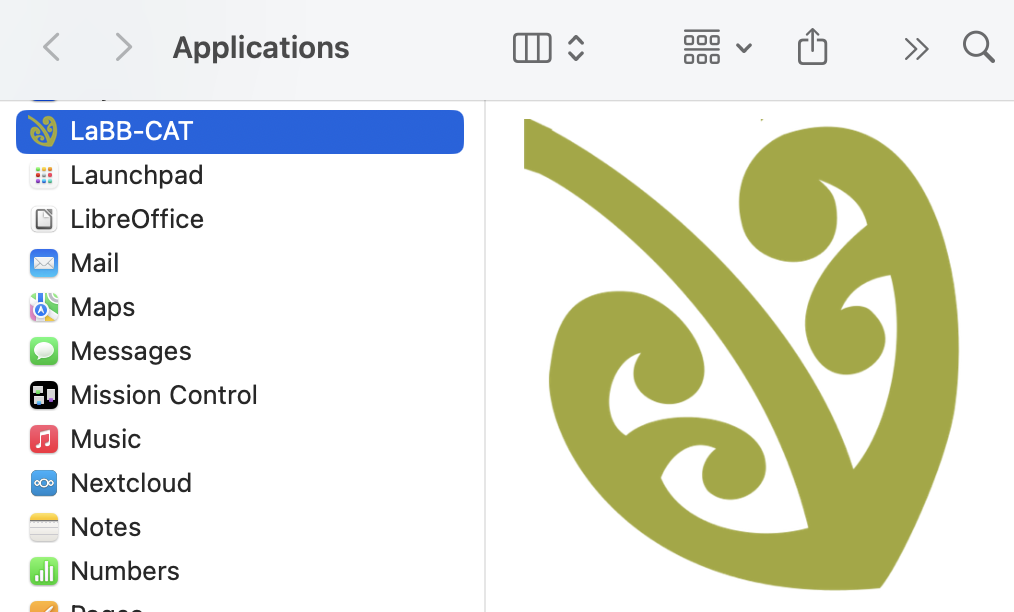
As seen in Figure 17, in your Applications folder, you will see that there is a LaBB-CAT entry that can be used to access LaBB-CAT from now on.
Uninstalling LaBB-CAT
In future you may want to uninstall LaBB-CAT, in which case you can use the same installer you used to install it.
If you run install-labbcat_yyyymmdd.jar and LaBB-CAT is already installed, after pressing Start it will offer further options.

The options are:
- Upgrade – Install this version of LaBB-CAT, keeping all your corpus data intact.
- Replace – Install LaBB-CAT afresh, deleting all your existing corpus data and leaving you with an empty LaBB-CAT installation.
- Uninstall – Remove LaBB-CAT from your personal computer.
- Cancel – Close the installer without taking any action.
